Monster Hunter Wilds Hopes of Home walkthrough
It's starting to get chilly…
Hopes of Home in Monster Hunter Wilds sees you exploring a very chilly climate, so make sure you've got items to warm you up!
It's also important to note that Hopes of Home is another Monster Hunter Wilds mission where you may want to consider turning on the Arachnophobia Settings. This is because one of the two monsters you'll face during this mission has a very spider-like appearance and you're here to put the fear in monsters, not the other way around.
With that in mind, look below to find our Hopes of Home walkthrough for Monster Hunter Wilds.
Spoiler Warning: This page contains potential spoilers for Monster Hunter Wilds.
If you'd like more assistance with your monster slaying, then visit our Monster Hunter Wilds walkthrough hub.
Monster Hunter Wilds Hopes of Home walkthrough
Hopes of Home begins in a way which should now feel familiar in Monster Hunter Wilds - you riding atop your Seikret. For now, you simply need to follow Satesh and can spend the time gathering up any materials you see, especially if you see a Heatmantle Bug.
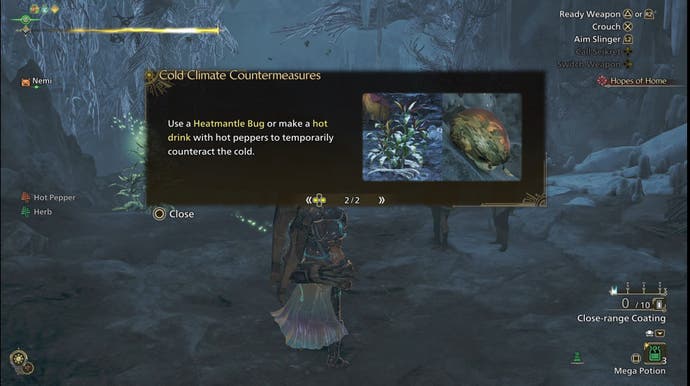
We recommend this because, once your Seikret ride comes to an end, you'll find yourself in an area with a cold climate. If you don't have any Heatmantle Bugs or a hot drink, then your maximum stamina will decrease at a faster pace than normal. Something which could become quite the problem when a monster turns up… Thankfully there are some hot peppers you can collect in your current location. Still, you may want to consider taking a quick break from the main campaign to ensure you're properly prepared for the cold before proceeding further. A good cold climate meal can be made by using Veggies as your Ration, Sharp Kunafa Cheese as an Additional Ingredient and Monster Chili for the Finishing Touches. Check out the best meal guide for more recommendations!
It's also worth taking the time to prepare yourself for the next monster fight if you can. Here you'll want to focus equipment aligned with the Fire element, while avoiding both the Dragon and Water element. We also highly recommend bringing along Antidotes, Herbal Medicine and Herbal Powder in case you're poisoned.
If you don't like spiders, you may also want to turn on the Arachnophobia Settings before proceeding any further as you will be encountering a spider-like monster. This can be done by returning to the first main game menu you'll visit at the beginning of every play session. From there, select 'Options' and scroll along to the 'Accessibility' screen. Here you'll find the 'Arachnophobia Assitance' setting which you can turn on and off. Keep in mind this setting does not effect a monster's movement or difficulty.
When you are ready, climb atop your Seikret and follow the Scoutflies. They will take you further into the cavern, climbing up the cliffs as you head to the top of the wall. Once you reach this location, a new cutscene will begin and, afterwards, you'll find yourself facing a Nerscylla. If you'd like help defeating this monster, check out our how to beat Nerscylla guide.
Make sure you carve up the Nerscylla corpse after slaying it! Wouldn't want to miss out on any good materials… Once this monster hunting quest has finished, you'll be treated to another cutscene. Upon its end, you'll then have the time to do some preparations - an excellent idea if you found the fight against the Nerscylla particularly difficult as there's another monster hunt in your near future.
To ensure you're ready for the next fight, we recommend focusing on weapons which can deal with Thunder or Fire elemental attacks. Since the next monster you face is weak to both, these should help you cause a lot of damage. With that in mind, it's also worth stocking up on Torch and Thunder Pods for your Slinger. Finally, when it comes to status effects, we recommend focusing on Poison and Sleep.
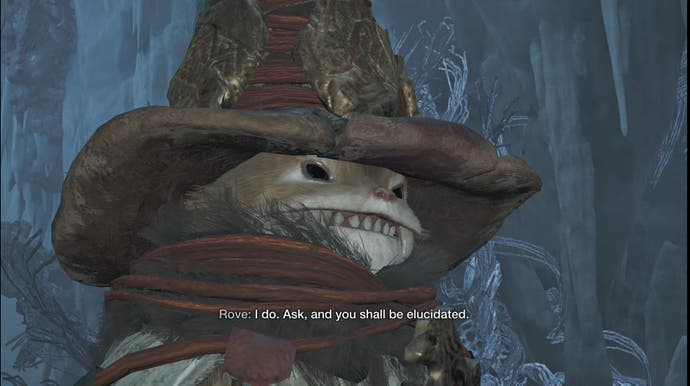
When you're ready, head over to Rove for a chat. After this talk, you'll need to head further into the cavern where you'll run into some members of the Avis Unit. At this point, you'll need to talk to three of them - along with having a short rest - before your hunt for the Hirabami begins. If you'd like assistance defeating this monster, check out our how to beat Hirabami guide.
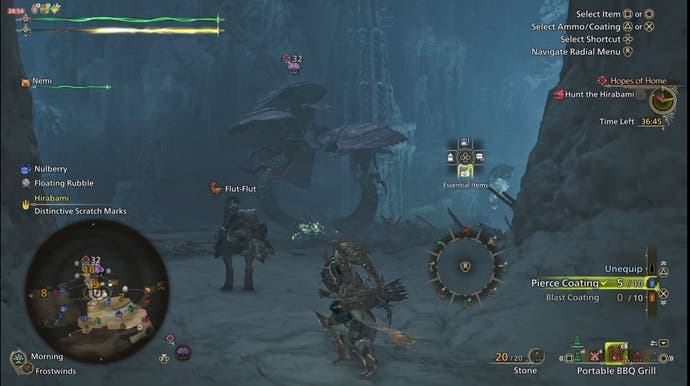
You may find the Hirabami hunt to be particularly difficult and, if this is the case, then we highly recommend taking the time to upgrade your armor and weapons to be better suited for this monster. If you're having trouble with your current weapon, then check out our best weapon tier list to see if there's one which will suit you better. It's also a good idea to ensure you still have the items needed for surviving the cold climate as you'll really want your stamina to be unaffected during this fight. Even if you're doing well, it's a good idea to use the breaks when the Hirabami moves to a different area to have a quick meal to boost your stats.
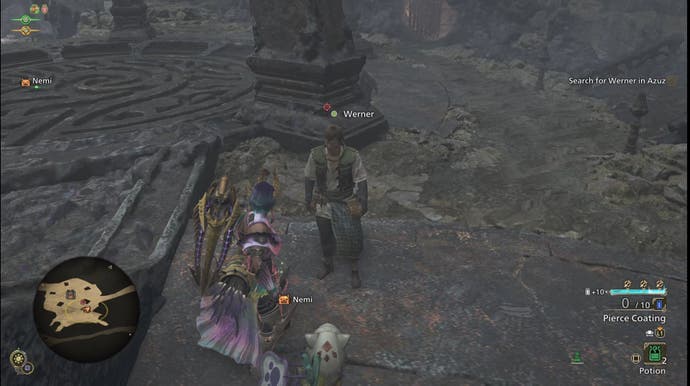
When the Hirabami has finally died, take the time to carve up its carcass before ending the quest. It will then be cutscene time once again as Hopes of Home comes to close. You'll receive some items as a reward and 40 Guild Points. Before you can begin the next Chapter Two mission, however, you need to find Werner in Azuz.
Fast travel back to his location, but consider taking the time to do some upgrades before you talk to him and get properly started on the next mission - Long Forgotten Flame. Remember - you can fast travel by opening the map and selecting the 'Fast Travel List'. Though the ability to do so is story-locked at times.
Hope you're enjoying Monster Hunter Wilds!


