Monster Hunter Wilds Forest Findings walkthrough
What lies within the trees?
The Forest Findings mission sees you venturing into, unsurprisingly, the Forest in Monster Hunter Wilds.
You'll face two monsters during Forest Findings, so we recommend upgrading your weapon and armor if you haven't done so already. Also if you dislike spiders, we recommend turning on the Arachnophobia Settings in Monster Hunter Wilds. Seriously, please excuse the spoiler and look after yourself if needed here to ensure you reach the next mission, A Hunter's Pride.
With that warning in mind, let's delve into our Forest Finding walkthrough for Monster Hunter Wilds.
Spoiler Warning: This page contains potential spoilers for Monster Hunter Wilds.
If you need some more monster slaying assistance, visit our Monster Hunter Wilds walkthrough hub.
Monster Hunter Wilds Forest Findings walkthrough
Forest Findings begins at the first base camp in Monster Hunter Wilds and, before you venture out, it's worth ensuring you've made some new armor and upgraded your weapons. You might also want to do this for your Palico if you have the spare materials. Don't forget to spot by your tent either for some item management time!
When you're ready, jump on your Seikret and head to the Forest entrance. It's not far and the Scoutflies will show you the way. Once there, a short cutscene will play and the Forest Findings mission will truly begin.
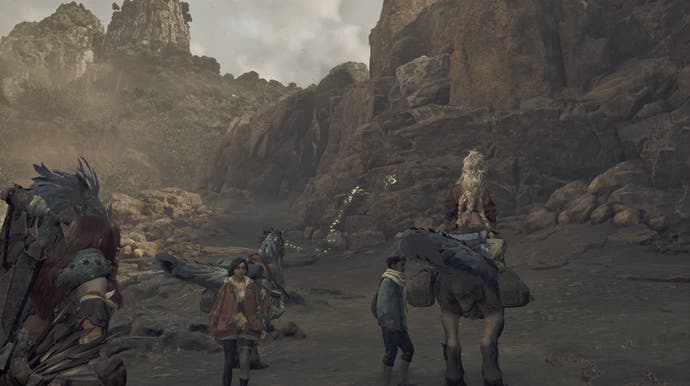
After travelling through the Forest for a while, you'll arrive at the base camp in the Forest. There you'll need to talk to Erik to progress further into the mission, but you can also have a quick chat with Nata. Once you've talked to Erik, it's time to venture out in the Forest and set up your first pop-up camp. (Though you need to progress a little further to unlock the ability to set them up yourself.) Before moving on, it's worth taking the time to look at your equipment and seeing if you have anything which can deal Fire elemental attacks. Make sure you've stocked up on Pitfall Traps, Shock Traps and Flash Pods as well.
Back to the mission in-hand, it's now time to follow the Doshaguma traces. You'll find one not far from the pop-up camp, another up on a small ridge not far from your first clump of fur and then you'll want to look at some scratch marks on a nearby tree. You may also pick up some Lala Barina Mucus, but I wouldn't worry about that…
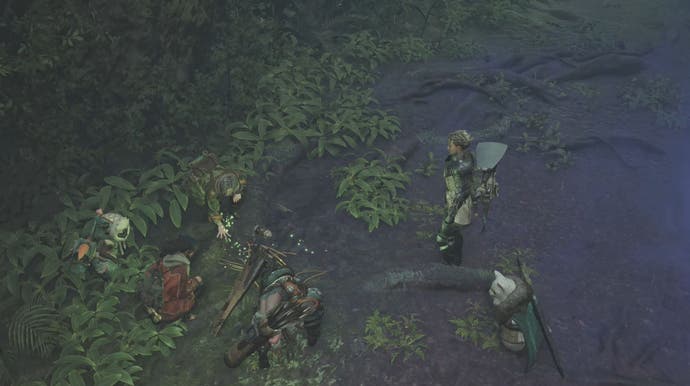
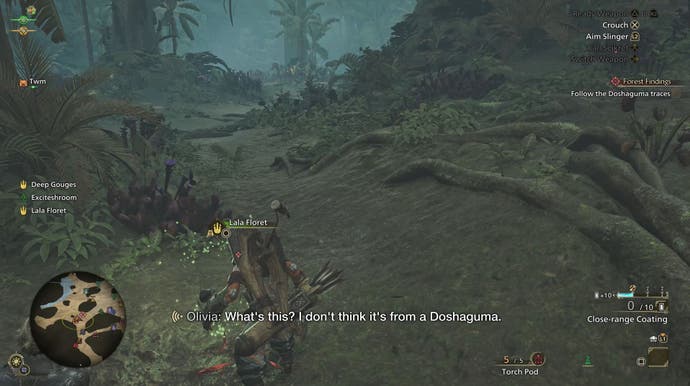
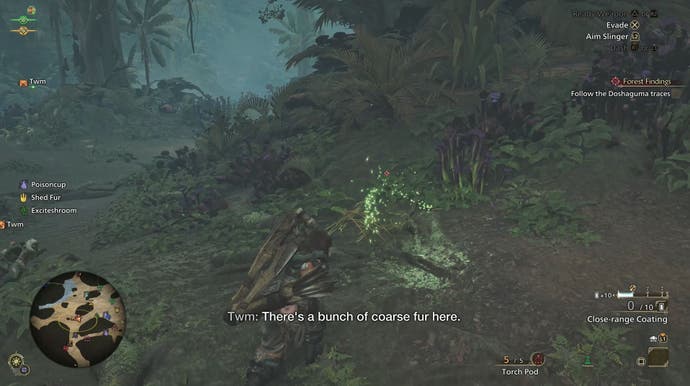
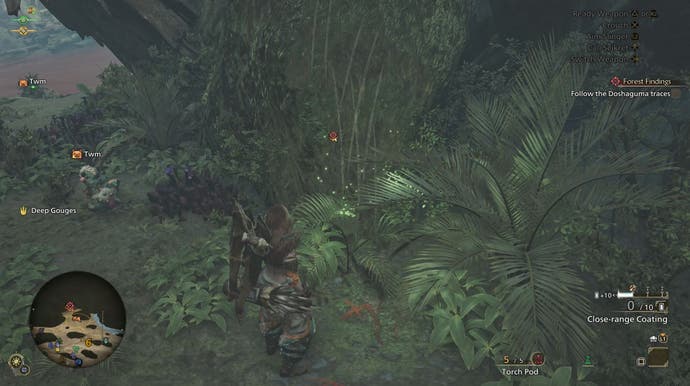
I lied. You should worry about that. It's now time to hunt the Lala Barina and we've got a guide on how to beat the Lala Barina too. Important note - the Lala Barina is a giant spider, so you may want to turn on the Arachnophobia Settings if you're not a fan of these creatures. This can be done by returning to the first main game menu you'll visit at the beginning of every play session. From there, select 'Options' and scroll along to the 'Accessibility' screen. Here you'll find the 'Arachnophobia Assitance' setting which you can turn on and off. Keep in mind this setting does not affect a monster's movement or difficulty.
If you want some assistance in defeating this giant spider, visit our how to beat Lala Barina guide.
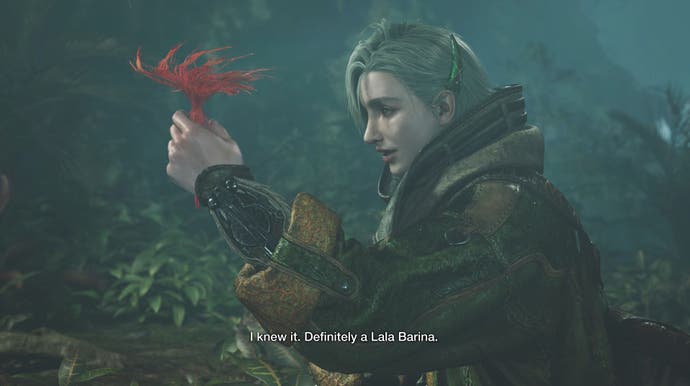
Once the Lala Barina is dealt with, carve up its body and return to camp. There you'll need to talk to Gemma who will give you four Machalite Ore and two Earth Crystals. It's also at this point that Weapon Trees where Gemma will give you a prompt about using the Weapon Trees to upgrade your gear. You should have already had access to this (if you've been making sure to talk to Gemma), but keep in mind that the Upgrade List helpfully tells you what you can currently upgrade. Useful if you've been gathering up every material around!
Before you do anything else, however, we highly recommend ensuring you have some Deodorant in your inventory. No, I'm not being rude. You will seriously need this item to cure the Blastblight and Stench effects in an upcoming monster hunter. Deodorant can be made using two Smokenut and two Bitterbug Broth. Make sure you've got a good amount in your pockets before heading out.
Weapon-wise consider bringing one which can deal either Fire or Ice elemental attacks. Being able to deal status effects has less of an importance here as you'll be forcing on avoiding them! Thankfully, Shock Traps, Pitfall Traps and Flash Pods are all still worth bringing.
With that done, head back to your pop-up camp and you'll discover it's been invaded by some various curious creatures. These are the residents of the forest known as the Lynians, though they call themselves Wudwuds, and they want a tribute to pay for your passage through their lands. (Seems fair to me.) Follow them to reach their home, taking the time to survey the Forest as you move if you so choose, and talk to the Lynian Negotiator.
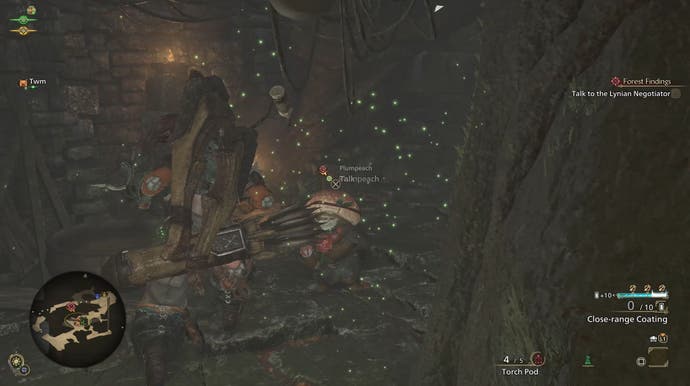
Turns out they'll happily accept your presence if you kill the Congalala. Deal set, follow the Scoutflies until you reach the Congalala and slay it. Keep in mind that other monsters may attack you during this fight and it's a good idea to slay them or else you risk being overwhelmed. You'll also want to avoid the Congalala's… well… let's call them projectiles.
We've got a how to beat the Congalala guide if you need a helping hand. Again - if you're having trouble with this monster, bring some Deodorant. (You'll know why now…) Remember to bring a weapon focused on Fire or Ice elemental attacks if you're finding the Congalala difficult!
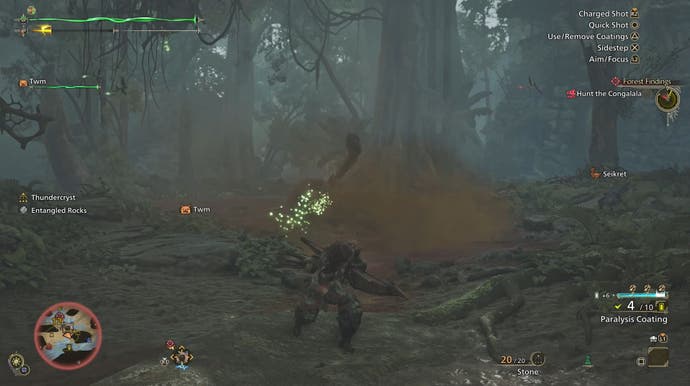
Don't forget to carve up the Congalala upon its death! With this monster slayed, the Wudwuds will return to your pop-up camp. From this point onwards, you'll be able to set up pop-up camps. These are incredibly useful if you're planning on journeying far from a base camp for various tents as they let you access your tent, while also acting as a fast travel destination and respawn point if you die.
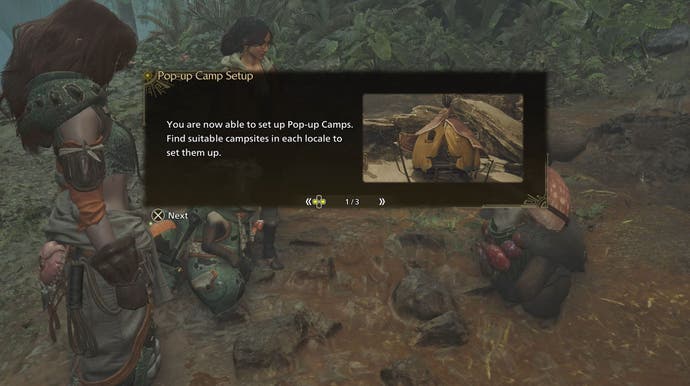
You'll then be returned to the Forest base camp where you'll unlock side quests. Side quests are a great way to earn some extra experience and helpful items. Keep an eye out for the little yellow symbol either on your map or above a character's head - that's where you can find a side quest. You don't even have to complete them straight away! All of the side quests you accept can be found in the Mission Info option accessible from the menu.
With that Forest Findings will come to a close. You'll earn three Droolshrooms, five Lifepowders, three Sturdy Bones and 20 Guild Points.
Before we move onto the next main mission though, there's a blink-and-you'll-miss-it intermission called 'The Investigation Continues'. Here we recommend talking to Gemma before Alma as doing so will unlock the ability for her to recommend equipment. This is quite a useful feature if Monster Hunter Wilds is your first game in the franchise and you want some assistance in figuring out what to use. To do this, simply talk to Gemma at the Smithy and select the 'Show me your recommendations.' This will bring up a selection of different options for you to choose from; displaying their various stats, what's required to make each piece of equipment and whether you can actually make them.
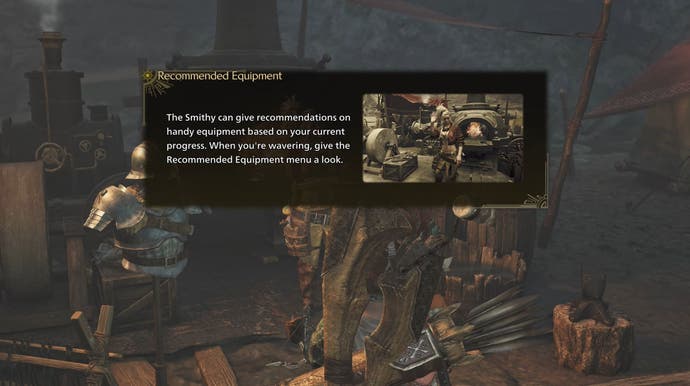
We also highly recommend taking the time to upgrade your weapons and armor, along with your Palico's, before moving onto the next mission. It's also worth taking the time to return to your tent for some quick item management. This is because, unless you die, you won't return to the base camp in-between hunts and, if you're unprepared, you might be dying quite a lot.
When it comes to what you should consider bringing we recommend Nulberries (to avoid the Waterblight status effect), Sonic Bombs, Pitfall Traps, Shock Traps and, of course, healing items. Weapon-wise, you'll want to focus on Thunder elemental attacks if possible. If you don't have a Thunder weapon, then a Fire weapon is a good choice as it will be effective against the second monster you face during the next mission. Don't forget to have a good meal either - check out our best meal guide for recommendations!
When you're ready, talk to Alma to begin the next Chapter One main mission, A Hunter's Pride.
Good luck in Monster Hunter Wilds!


