Monster Hunter Wilds A Hunter's Pride walkthrough
It's time for your first Alpha hunt!
The A Hunter's Pride mission in Chapter One of Monster Hunter Wilds tasks you with hunting your first Alpha monster - the Alpha Doshaguma.
Yet, since things are never easy in Monster Hunter Wilds, you first have to defeat another monster known as the Balahara. Due to this, we highly recommend upgrading your weapon and armor towards the end of the previous mission, Forest Findings, to prevent a quick death.
With that advice in mind, let's take a look at our A Hunter's Pride walkthrough for Monster Hunter Wilds.
Spoiler Warning: This page contains potential spoilers for Monster Hunter Wilds.
If you need some more monster slaying assistance, visit our Monster Hunter Wilds walkthrough hub.
Monster Hunter Wilds A Hunter's Pride walkthrough
A Hunter's Pride begins back at Y'sai's village in Monster Hunter Wilds. You're not there long though as you'll need to head to the oasis. It's not a long journey though as you'll quickly find yourself attempting to escape the Balahara, with the optional objective of driving off the Balahara. Though your journey will be cut short by some quicksand which leads to an underground cave and hunting the Balahara. (I hate this guy. No issues with any of the other Chapter One monsters, but the Balahara. Man…)
Need a hand like I did with the Balahara? Well then we've got a how to beat the Balahara guide. If you'd prefer to avoid returning to base camp while fighting the Balahara, we recommend using a weapon which can deal Thunder elemental attacks. You'll also find it quite useful to inflict Paralysis on the Balahara. Not only is it especially weak to this effect, but it will make it easier to hit the monster's mouth, which is its weak point. Unhelpfully, the Balahara loves spitting mucus, so it's a good idea to bring Nulberries as well to avoid any nasty side effects from being hit by this nasty liquid.
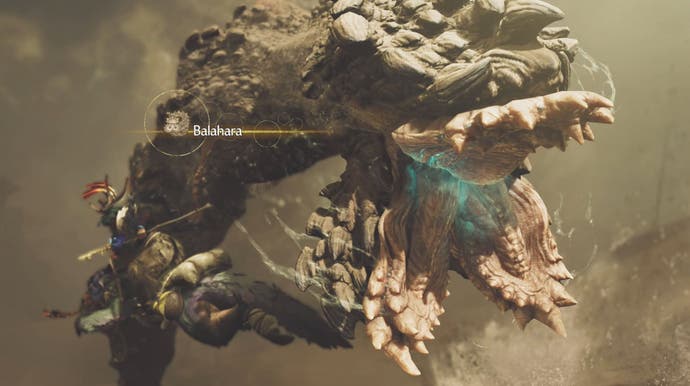
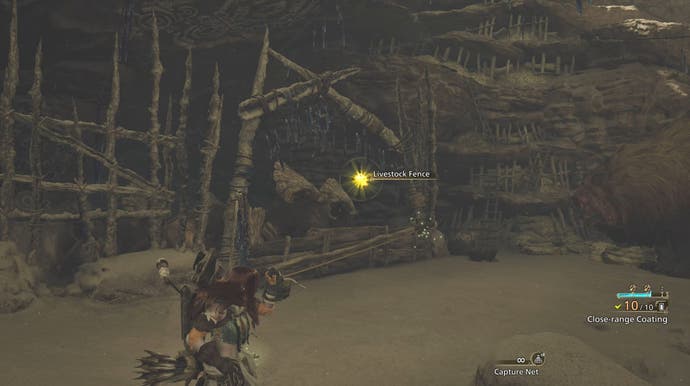
Killing the Balahara will lead to a cutscene and, afterwards, you'll need to release the nearby livestock by using your Slinger on the nearby fence. Animals free, let your Seikret follow the Doshaguma pack and destroy the boulders when prompted to thin out the herd. Note - my Seikret got a little confused during this section and went on a rather odd journey about the map for thirty seconds, but it did return itself to the automatic path.
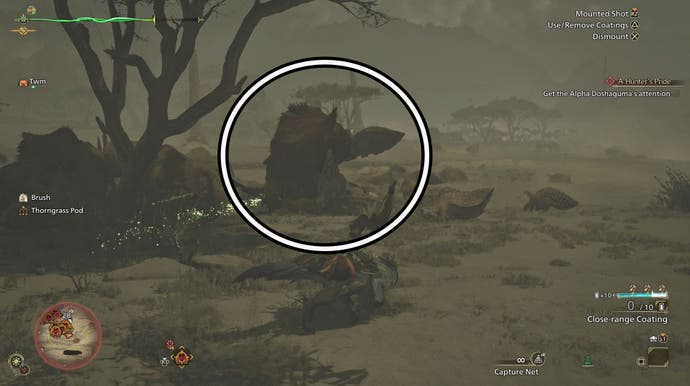
When you're in a more open area, you'll be tasked with getting the Alpha Doshaguma's attention. This is done by attacking it, preferably on Seikretback. If you're having trouble finding the right Doshaguma to attack, then look for the one with darker coloured fur.
Doing this successfully will begin your hunt with the Alpha Doshaguma. Want to learn more about this monster? Then check out our guide on how to beat the Alpha Doshaguma.
If the Alpha Doshaguma is giving you trouble, then we recommend using a weapon which can deal with Fire or Thunder elemental attacks. You'll also find Large Barrel Bombs, Flash Pods and Shock Traps to be very handy. Keep an eye on the ground too! Sparks will fly before lighting lands and, with this information, you can give Alpha Doshaguma quite the shock.
With the Alpha Doshgum dead, make sure you take the time to carve up its corpse before moving forward with the mission. Your next time to return to Kunafa - also known as Y'sai's village - where it's cutscene time once again. Though, as you travel, you might notice that the valley is looking a little more lush after the thunderstorm.
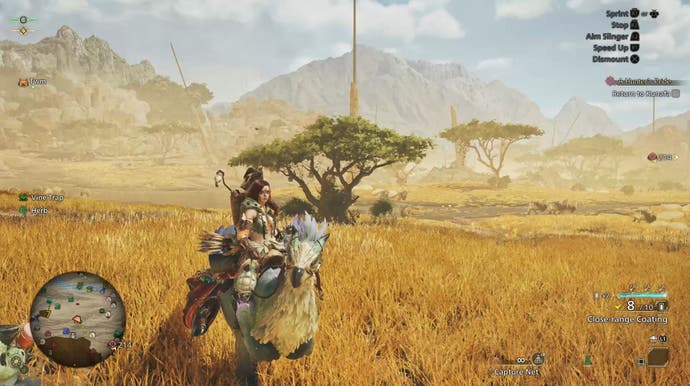
For completing A Hunter's Pride, you'll receive three Kunafa Cheese, five Nitroshroom, three Machalite Ore, 20 Guild Points, 12 new titles (I'm not gonna list them all) and a Gemchime Replica camp gear. If you fancy adding this camp gear to your pop-up camp, talk to either the Pop-up Camp Meowster or the Pop-up Camp Purrofessional found at the established camps to customise your camp. These cats can also build, repair or remove your pop-up camps.
There's another small inter-mission mission at the end of A Hunter's Pride called Pursuit of Solitude, which simply involves talking to Nata back at the Plains base camp. This is not an optional conversation, so you need to have a quick chat if you want to progress the storyline.
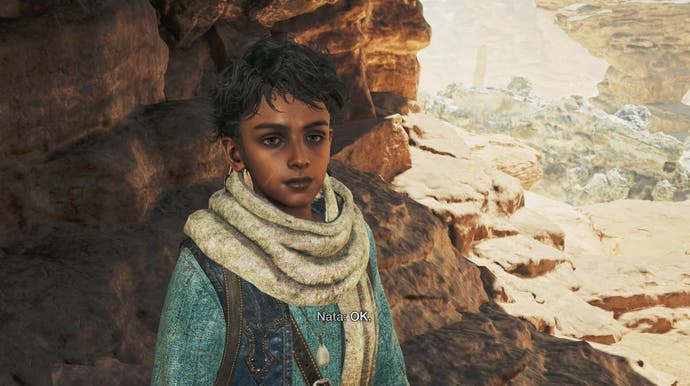
Talking to Nata will return you to the Forest base camp where you'll begin the next Chapter One main mission, Beyond the Deluge.
Before you head out, however, take the time to do some equipment changes. For the next fight, you'll want to focus on Thunder elemental attacks while avoiding Water ones. Having some Nulberries on hand will also help you dispel the Waterblight effect, which you'll most likely experience in your next campaign fight. If you fancy bringing along any additional items, we also recommend Shock Traps and Flash Pods.
Hope you're slaying in Monster Hunter Wilds!


